
Step-by-Step Home Theater Calibration Guide: Audio, Video & Lighting
A home theater setup offers the promise of an immersive entertainment experience, combining sharp visuals, clear audio, and perfect lighting. However, achieving that cinematic experience requires more than just purchasing high-end equipment. H
ome theater calibration is crucial to ensure that all elements, audio, video, and lighting, are fine-tuned for optimal performance in your specific environment. Without proper calibration, you might find yourself with distorted sound, poor video quality, or lighting that doesn’t complement your viewing experience.
In this article, we will explore the home theater audio calibration process, dive into video calibration settings for projectors and TVs, and guide you on smart lighting synchronization with media to enhance your setup.
Audio Calibration: Creating the Perfect Soundstage
Proper audio calibration is essential for achieving a true cinematic experience in your home theater. The home theater audio calibration process is designed to ensure that your speakers are positioned and configured correctly, creating a soundstage that mimics the one you would experience in a movie theater.
Whether you’re doing it yourself or hiring a home theater installation company, getting the right sound setup is key to unlocking the full potential of your system.
Why Is Audio Calibration So Important?
Audio calibration ensures that every sound, from dialogue to explosions, is heard at the right level and in the right direction. By adjusting speaker distance and level, tuning room EQ, and setting the right frequency response, you can ensure that every sound is clear and crisp, regardless of where you sit in the room.
Proper calibration also ensures that surround sound systems, including advanced formats like Dolby Atmos, provide an immersive experience where you can feel the sounds coming from all directions.
Tools and Equipment for Audio Calibration in Home Theater
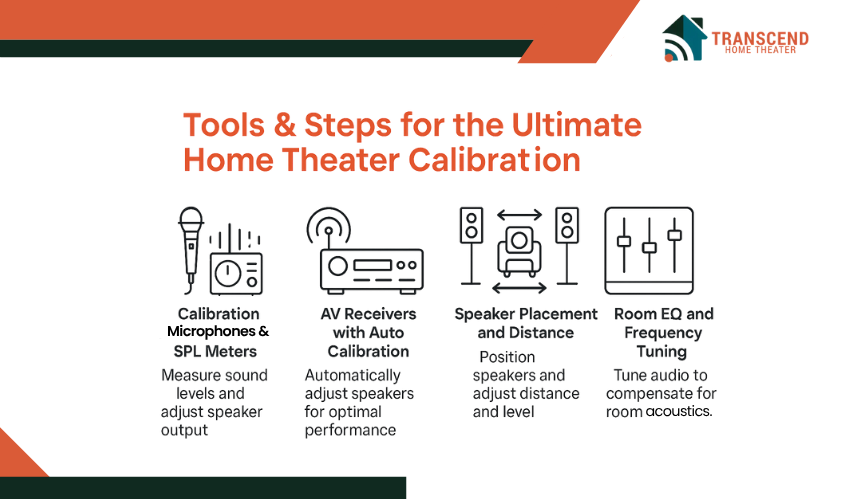
- Calibration Microphones and SPL Meters: A sound pressure level (SPL) meter or calibration microphone can be used to measure sound levels and adjust speaker output. This helps ensure that all speakers are properly aligned in terms of volume, ensuring balanced sound throughout the room.
- AV Receivers with Auto Calibration: Most modern AV receivers come with auto-calibration setups, such as AV receiver auto calibration setup. These tools use microphones to measure your room’s acoustics and automatically adjust your speakers for optimal sound performance.
Step-by-Step Audio Calibration for Home Theater
- Speaker Placement and Distance: Proper speaker positioning is critical for achieving the best sound. For surround sound systems, speakers should be placed in specific positions based on their type (front, center, rear). Speaker distance and level adjustment is key to ensuring that sound from all speakers reaches your ears at the correct time.
- Room EQ and Frequency Response Tuning: The shape and materials of the room can affect how sound waves behave. Room EQ helps adjust the sound to compensate for room acoustics, ensuring accurate bass and treble reproduction.
- Test Tones and Calibration Tools: Test tones are used to measure the output of each speaker, ensuring that they are at the right volume level. These tones help to balance speaker output and avoid areas where the sound might be too loud or too soft.
- Fine-tuning with Dolby Atmos: For those with advanced sound systems, Dolby Atmos sound calibration tips can further enhance the experience. Dolby Atmos allows for sound to move dynamically around the room, and calibrating it properly ensures that sounds move as intended.
Video Calibration: Achieving Cinematic Picture Quality

When it comes to creating an immersive home theater experience, video quality plays a pivotal role. Video calibration settings for projectors and TVs ensure that you’re seeing the most accurate colors, the sharpest details, and the right contrast.
Why Is Video Calibration Necessary for Home Theaters?
The goal of video calibration is to adjust your screen or projector settings so that the picture matches the filmmaker’s original intent. This means fine-tuning settings like brightness, contrast, color accuracy, and sharpness.
When done correctly, you will notice enhanced details, natural skin tones, and vivid colors that pop, all without the distracting distortions of an uncalibrated system. Without proper calibration, even the best screen or projector may not perform at its full potential, leaving you with washed-out colors or poor contrast that detracts from your movie-watching experience.
Key Elements For Home Theater Video Calibration
- Color Accuracy and Brightness Calibration: The most important aspect of video calibration is achieving accurate color reproduction. Adjusting color accuracy and brightness calibration ensures that the colors you see on the screen are true to life. This is especially important for high-definition content, where subtle hues and shades should be displayed correctly.
- Sharpness and Contrast: Setting the right contrast helps define the difference between light and dark areas on your screen, while proper sharpness ensures that details in images appear crisp without the artificial enhancement that can create unwanted artifacts.
- HDR Calibration: High Dynamic Range (HDR) enhances the contrast ratio and color range of your display. For those with 4K or 8K setups, ensuring your HDR settings are properly calibrated is crucial for experiencing the true depth and richness of modern content.
Tools and Equipment for Home Theater Video Calibration
- Colorimeter and Calibration Discs: Devices like colorimeters and calibration discs (such as Disney WOW or Spears & Munsil) are used to measure and adjust the color output and brightness of your display. These tools ensure that your screen is displaying colors accurately and that the brightness levels are set correctly for the room environment.
- Using Test Patterns: Test patterns are essential for adjusting settings like contrast, brightness, and sharpness. These patterns help ensure that the full range of colors and brightness levels is visible and properly represented on your screen.
Projector vs. TV Calibration For Home Theaters
Projectors and TVs have different calibration needs. Projectors may require more adjustments for color accuracy and brightness calibration, especially in home theater setups where ambient light can interfere with picture quality.
TVs, on the other hand, often have built-in calibration modes that make it easier to fine-tune the image with just a few adjustments. Whether you’re calibrating a projector or a TV, the principles remain the same, but the methods may differ slightly.
If you’re looking to achieve the perfect picture and sound for your home theater, Transcend Home Theater can help. Our expert technicians specialize in projector and TV calibration, ensuring your system is optimized for the best possible experience. Whether you’re setting up a new home theater or fine-tuning your current system, contact us today to schedule a professional calibration and elevate your viewing experience to the next level.
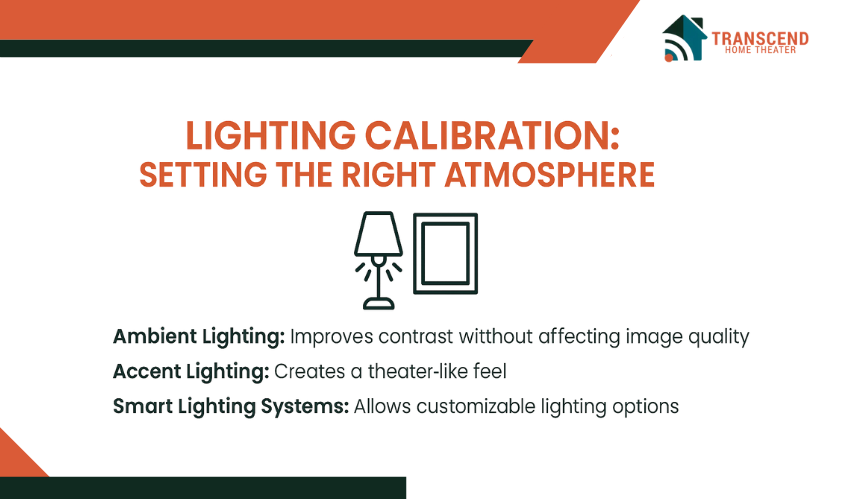
Lighting Calibration: Setting the Right Atmosphere
While audio and video calibration are critical for enhancing the performance of your home theater system, lighting calibration is often overlooked, despite its significant impact on the overall viewing experience.
Proper lighting can improve visual contrast, reduce eye strain, and create an immersive atmosphere that complements your movie-watching experience. The right lighting can make the difference between an average home theater and one that feels like a professional cinema.
Why Is Lighting Calibration Important?
Lighting affects how you perceive the image on your screen. Poor lighting can cause glare, making it difficult to see fine details, while overly dim lighting can strain your eyes during long viewing sessions. Calibrating the lighting in your home theater helps to optimize brightness levels, eliminate distractions, and set the right mood.
Whether you’re watching action-packed movies or enjoying a quiet documentary, the lighting should adjust to the content, creating an environment where you can focus entirely on the film.
Key Considerations for Home Theater Lighting
- Ambient Lighting: Ambient lighting refers to the general light in the room. It’s important to ensure this lighting is not too bright or overpowering, as it can cause reflections on your screen or diminish the contrast. Bias lighting, such as placing light behind your TV or projector screen, can significantly improve contrast without affecting the image quality.
- Accent Lighting: Accent lighting adds an additional layer of ambiance. LED strip lights around the perimeter of the room or wall sconces with dimmer switches can create a theater-like atmosphere. These types of lights can be dimmed to suit the scene you’re watching, allowing you to maintain a comfortable and cinematic viewing experience.
- Smart Lighting Systems: With the rise of smart home technology, integrating smart lighting systems into your home theater setup is now easier than ever. Systems like Philips Hue or LIFX offer customizable lighting that can be synchronized with the media you’re watching. Smart lighting can automatically adjust brightness, color, and mood settings depending on the content..
Step-by-Step Hone Theater Lighting Calibration
- Setting the Right Brightness Levels: Your home theater lighting should be subtle enough not to interfere with your viewing experience but bright enough to create a comfortable environment. Start by adjusting ambient lighting to a low, indirect level that minimizes glare on the screen. Use dimmer switches or adjustable smart bulbs to fine-tune the brightness as needed.
- Positioning Lights for Optimal Effect: To prevent reflections and distractions, it’s essential to position lights strategically around the room. Install LED strips behind the screen or use wall sconces on the sidewalls to keep the lighting out of the line of sight while still providing ambient illumination.
- Synchronizing with Content: For a more advanced setup, consider smart lighting synchronization with media. Many systems allow you to set up scenes or modes that automatically adjust your lighting based on the content being played. For instance, if you’re watching a thriller, the lights could dim to create a darker, more dramatic atmosphere, while during a comedy, the lights could stay brighter.
- Testing for Optimal Lighting Conditions: After setting up your lighting, it’s essential to test it with different content to ensure it complements the image. Adjust based on the room’s specific conditions, such as light levels, screen size, and seating positions. Testing with various lighting presets will help find the right balance for each type of content.
Frequently Asked Questions
Can I calibrate my home theater without professional help?
While DIY calibration is possible using tools like SPL meters, AV receiver auto-calibration, and colorimeters, achieving the best results often requires professional assistance, especially for complex setups like Dolby Atmos. A professional will ensure the system is fine-tuned for optimal performance and can address challenges that may arise from room acoustics or advanced equipment.
How often should I recalibrate my home theater system?
It’s recommended to recalibrate your system whenever you add new equipment, move furniture, or make significant changes to your room’s layout or lighting. Additionally, recalibration should be considered every 6-12 months to ensure your system is performing at its best and to adjust for any potential wear and tear on components.
What is the difference between color accuracy and color saturation in video calibration?
Color accuracy ensures that the colors displayed on your screen match real-world colors, while color saturation refers to the intensity or richness of those colors. For optimal picture quality, both need to be calibrated properly, ensuring that your display produces realistic and vivid colors without appearing oversaturated or unnatural.
How can I optimize my projector for daylight viewing?
To optimize your projector for daylight viewing, consider using a high-gain screen or an ambient light rejecting (ALR) screen that minimizes the impact of surrounding light. Additionally, adjust your projector’s brightness and contrast settings to compensate for the increased light in the room.
Does lighting calibration affect the overall energy efficiency of my home theater?
Yes, lighting calibration can contribute to energy efficiency. By choosing energy-efficient lighting options, like LED bulbs, and using smart lighting systems that adjust based on content, you can reduce energy consumption while still creating an immersive viewing experience. Automated lighting setups also prevent unnecessary energy waste when the system is not in use.
Can I use a soundbar instead of a full surround sound system for home theater calibration?
Yes, a soundbar can be calibrated to enhance the audio experience in a home theater, though it won’t provide the same level of immersion as a full surround sound system. Many soundbars offer virtual surround sound and can be calibrated using the same methods, such as adjusting levels, distances, and room acoustics. However, for a more dynamic audio experience, especially with Dolby Atmos, a full surround sound system is recommended.
How can I integrate my home theater system with smart home devices?
Integrating your home theater system with smart home devices allows for seamless automation of lighting, audio, and video settings. Use platforms like Amazon Alexa, Google Home, or Apple HomeKit to control your system with voice commands. Smart lighting systems can synchronize with media to adjust the ambiance automatically based on the content you’re watching.