
Home Theater Mistakes Installers See Most (And How to Avoid Them)
Key Takeaways:
|
A home theater system often fails to deliver expected performance not because of equipment quality, but due to installation mistakes that disrupt audio balance, viewing comfort, and system efficiency. Small errors in placement, configuration, or environment can significantly reduce both immersion and long-term usability.
Many of these issues are not immediately obvious, which is why they persist even in well-equipped setups. This guide breaks down the most common mistakes installers encounter and explains how to correct them for a properly optimized home theater experience.
1. Poor Speaker Placement That Ruins Sound Balance in Home Theaters
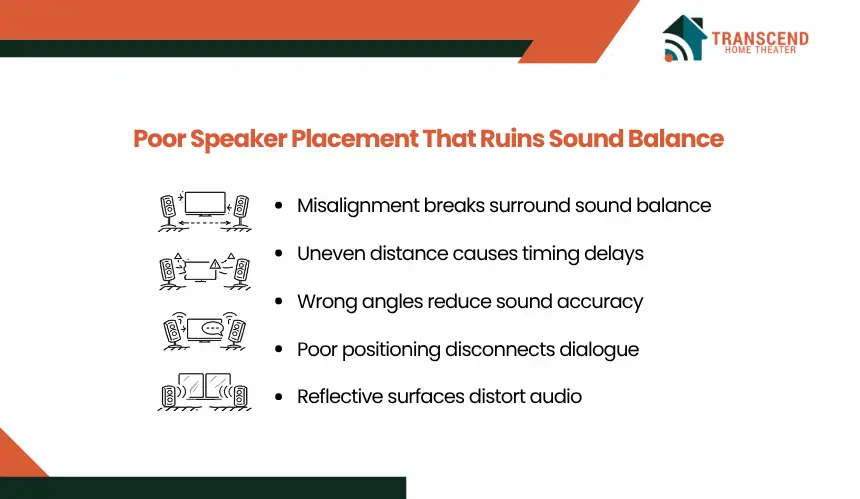
Why Improper Placement Distorts Surround Sound Experience
Sound systems are designed to create a cohesive soundstage where dialogue, effects, and background audio are spatially distributed. When speakers are misaligned, this balance breaks down. Dialogue may feel disconnected from the screen, surround effects lose directionality, and volume levels become inconsistent across seating positions.
Incorrect angles or uneven distances cause phase interference and timing delays, which disrupt how sound waves combine. As a result, clarity drops and the immersive effect that surround sound systems are built for becomes fragmented.
Common Placement Mistakes Installers Frequently Encounter
Installers frequently correct setups where speakers are mounted too high, placed too close together, or positioned without symmetry. Rear speakers are often incorrectly aligned with front channels, reducing depth perception.
Another recurring issue is ignoring the listening position. Speakers are sometimes arranged based on room layout rather than seating alignment, which shifts the audio focus away from the viewer. Reflective surfaces such as bare walls or glass further amplify placement errors by causing uncontrolled sound reflections.
How To Correctly Position Speakers for Optimal Performance
Effective placement starts with aligning front speakers at ear level relative to the primary seating position. Equal spacing between left, center, and right channels ensures balanced sound distribution, while slight inward angling improves directional accuracy.
Surround speakers should be placed slightly above ear level and positioned to the sides or just behind the listener to create a consistent surround field. Maintaining equal distance from the seating area helps preserve timing alignment.
Final performance depends on calibration after placement. Even correctly positioned speakers require level adjustment and delay tuning to match room dimensions and seating geometry.
2. Incorrect Screen Size And Viewing Distance Setup in Home Theaters

Visual performance depends on how the screen size aligns with seating distance and viewing angle. When this relationship is miscalculated, the result is either reduced immersion or physical discomfort during extended viewing.
Why Screen Size Alone Does Not Define A Good Viewing Experience
A larger screen does not automatically improve quality. If the display exceeds the optimal field of view for the viewer’s distance, individual pixels become noticeable, and rapid eye movement increases fatigue. On the other hand, a screen that is too small limits visual engagement and reduces the perceived impact of high-resolution content.
Clarity, comfort, and immersion are determined by how well the screen fills the viewer’s natural field of vision without forcing constant head or eye adjustment.
Common Mistakes In Screen Placement And Seating Layout
A frequent issue is placing seating too close to oversized screens, which leads to eye strain and difficulty tracking motion across the display. In contrast, placing seats too far reduces detail visibility, especially in high-definition or 4K setups.
Another recurring mistake is mounting the screen too high. This shifts the viewing angle upward, causing neck strain and reducing long-term comfort. Room proportions are often ignored, resulting in layouts that prioritize wall space rather than viewing ergonomics.
How To Calculate The Ideal Viewing Distance And Screen Size
Optimal setup begins with maintaining a viewing distance that allows the screen to occupy a comfortable portion of the viewer’s field of vision. Industry guidelines typically recommend a distance of approximately 1.5 to 2.5 times the screen’s diagonal size, depending on resolution and personal preference.
The center of the screen should align with the viewer’s eye level when seated, ensuring a neutral viewing angle. Adjustments should also account for multiple seating positions to maintain consistent visibility across the room.
3. Ignoring Room Lighting And Acoustic Conditions in Home Theaters
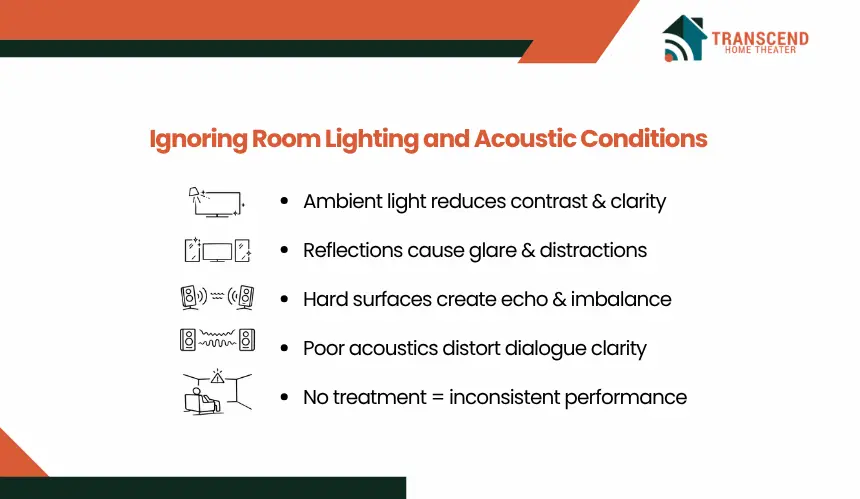
How Lighting Affects Picture Clarity And Contrast
Ambient light directly impacts how images appear on screen. Excessive light reduces contrast levels, washes out dark scenes, and limits color depth, especially in projector-based systems. Reflections from windows or glossy surfaces introduce glare, which distracts from the viewing experience and reduces detail visibility.
Directional lighting placed behind or near the screen further interferes with brightness perception, making it difficult for the display to maintain consistent image quality across different scenes.
Acoustic Issues Installers Frequently See In Untreated Rooms
Hard, reflective surfaces such as bare walls, tile floors, and large windows cause sound waves to bounce unpredictably. This leads to echo, delayed reflections, and uneven frequency response. Dialogue clarity often suffers, while bass frequencies may either build up excessively or cancel out depending on room geometry.
Rooms without any form of acoustic control tend to exaggerate these inconsistencies, making audio performance feel uncontrolled despite proper speaker placement.
Practical Fixes For Lighting Control And Sound Treatment
Managing light begins with limiting external sources. Blackout curtains, controlled ambient lighting, and matte surface finishes reduce glare and help maintain consistent contrast levels. Positioning lights away from the screen prevents direct reflection into the viewer’s line of sight.
Acoustic improvement requires introducing materials that absorb or diffuse sound. Soft furnishings such as rugs and upholstered seating reduce reflections, while dedicated acoustic panels help control echo and improve clarity. Strategic placement of these elements stabilizes sound behavior across the room, allowing the system to perform as intended.
4. Poor Cable Management And Equipment Placement in Home Theaters
System reliability depends not only on components but on how they are physically organized. Poor cable routing and incorrect equipment placement introduce signal issues, thermal stress, and long-term maintenance challenges.
Why Cable Clutter Leads To Signal And Safety Issues
Unstructured cabling increases the risk of electromagnetic interference, especially when power cables run parallel to signal lines such as HDMI or audio connections. This interference can degrade signal quality, resulting in flickering displays, audio dropouts, or inconsistent performance.
Dense cable bundling also restricts airflow and can contribute to heat buildup around sensitive equipment. Over time, this increases wear on connectors and raises the risk of overheating or electrical faults.
Common Setup Mistakes With AV Receivers And Components
A frequent issue is placing AV receivers and media devices in enclosed cabinets without adequate ventilation. These components generate continuous heat, and restricted airflow leads to thermal throttling or premature hardware failure.
Stacking devices directly on top of each other is another common mistake. This blocks ventilation paths and concentrates heat in a confined space. Limited access to rear panels further complicates troubleshooting and system upgrades.
How To Organize Cables And Position Equipment Correctly in Home Theaters
Effective cable management starts with separating power and signal lines to minimize interference. Using cable channels, ties, or raceways keeps wiring structured and reduces strain on connectors. Labeling cables simplifies future maintenance and system changes.
Equipment should be placed with sufficient spacing to allow airflow around each unit. Open shelving or ventilated racks support heat dissipation, while positioning frequently accessed components within reach improves usability. A structured layout ensures stable performance and simplifies long-term system management.
5. Skipping Calibration And System Configuration in Home Theaters

What Happens When Systems Are Used Without Calibration
Common Calibration Mistakes Homeowners Make
A common issue is relying entirely on default presets without adjusting for room-specific variables. Automated calibration tools are often skipped or used incorrectly, leading to inaccurate speaker levels and timing delays.
Another mistake is misconfiguring audio channels, such as assigning incorrect speaker sizes or crossover settings. In video setup, users frequently ignore brightness and contrast calibration, resulting in either crushed blacks or blown-out highlights.
How To Properly Calibrate Audio And Video Settings in Home Theaters
6. Overlooking Future Upgrades And System Scalability
Many home theater setups are designed only for immediate use, without considering how technology or user needs will evolve. This approach often leads to compatibility issues, restricted expansion, and unnecessary reinstallation costs.
Why Rigid Setups Limit Long-Term Usability
A system built without flexibility becomes difficult to upgrade when new formats, devices, or features are introduced. For example, older cabling may not support higher bandwidth requirements needed for 4K or 8K video, HDR formats, or advanced audio codecs.
Limited input and output capacity on receivers or switchers can also restrict the addition of new devices such as streaming systems, gaming consoles, or multi-room audio extensions. This forces users to replace core components earlier than necessary.
Common Planning Mistakes During Initial Installation
One frequent mistake is installing only the exact number of cables required for the current setup. Without spare conduits or additional wiring paths, adding new components later requires opening walls or rerouting cables externally.
Another issue is selecting equipment with minimal connectivity. Systems with limited HDMI ports or outdated standards quickly become bottlenecks as more devices are introduced. Lack of integration planning for smart control systems also reduces automation potential.
How Do Local Infrastructure And Housing Styles Affect Upgrade Planning?
In regions like Virginia and Maryland, many homes include finished basements and structured framing, which makes running additional conduits or pre-wiring for future upgrades more feasible during initial installation. Planning extra cable paths in these environments significantly reduces future retrofit costs.
In Washington DC, however, space constraints, historic row homes, and stricter building codes often limit wall modifications. This increases the importance of using surface-mounted raceways, compact AV racks, and wireless integration where structural changes are restricted.
Across all three areas, planning for high-bandwidth internet infrastructure is also critical, as dense urban usage and smart home integration demand stable network capacity for streaming, automation, and multi-device connectivity.